When a golf enthusiast decides to build a home simulator, they often face challenges like equipment selection, room layout, and calibration. Many experience trial and error, adjusting lighting, fixing calibration issues, and upgrading gear for better accuracy. This process turns frustration into progress as they refine their setup. If you continue exploring, you’ll discover how persistent tweaks and smart choices can transform your practice space into a professional-quality golf environment.
Key Takeaways
- The fan successfully created a personalized golf simulator, improving practice frequency and shot consistency at home.
- Setup adjustments, such as lighting and calibration, were crucial for accurate ball tracking and data collection.
- Budget-friendly equipment options enabled cost-effective customization without sacrificing essential functionality.
- Troubleshooting challenges included space constraints, equipment compatibility, and environmental factors affecting performance.
- Continuous refinements and upgrades, like better lighting and sensor calibration, led to noticeable improvements in swing analysis.

Rapsodo MLM2PRO Launch Monitor Golf Simulator | Swing Trainer & Shot Tracker for Home & Driving Range | Golf Training Aid (3 ProV1 Balls)
TOUR LEVEL SHOT TRACK ACCURACY — Doppler radar & dual camera setup ensure reliable data on every shot…
As an affiliate, we earn on qualifying purchases.
As an affiliate, we earn on qualifying purchases.
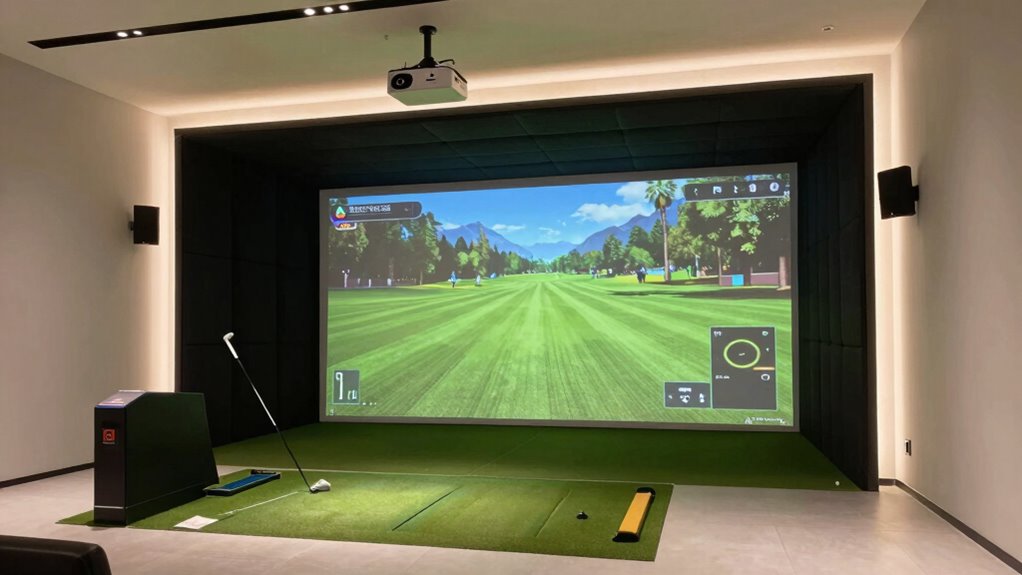
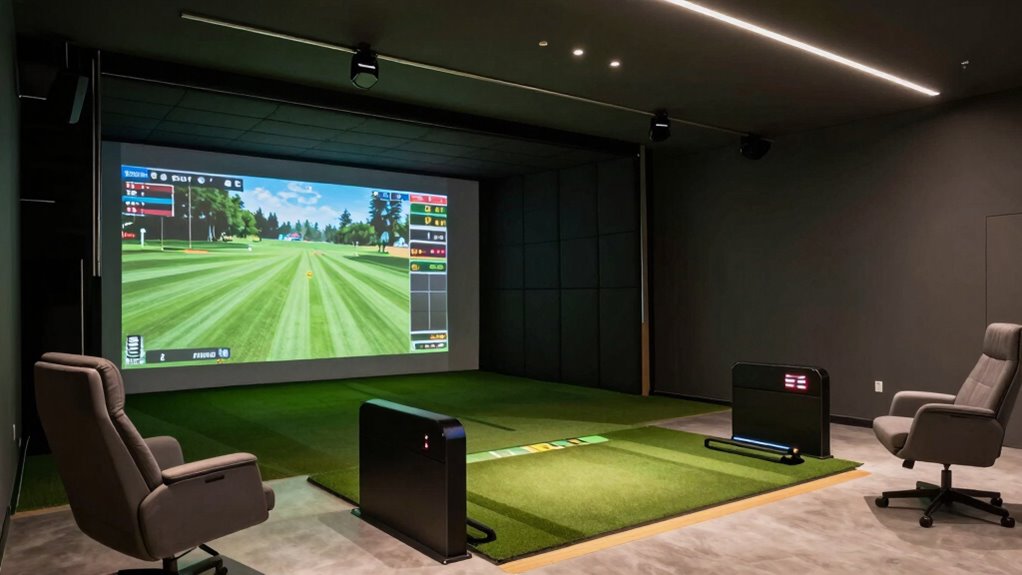
Why I Decided to Build a Home Golf Simulator
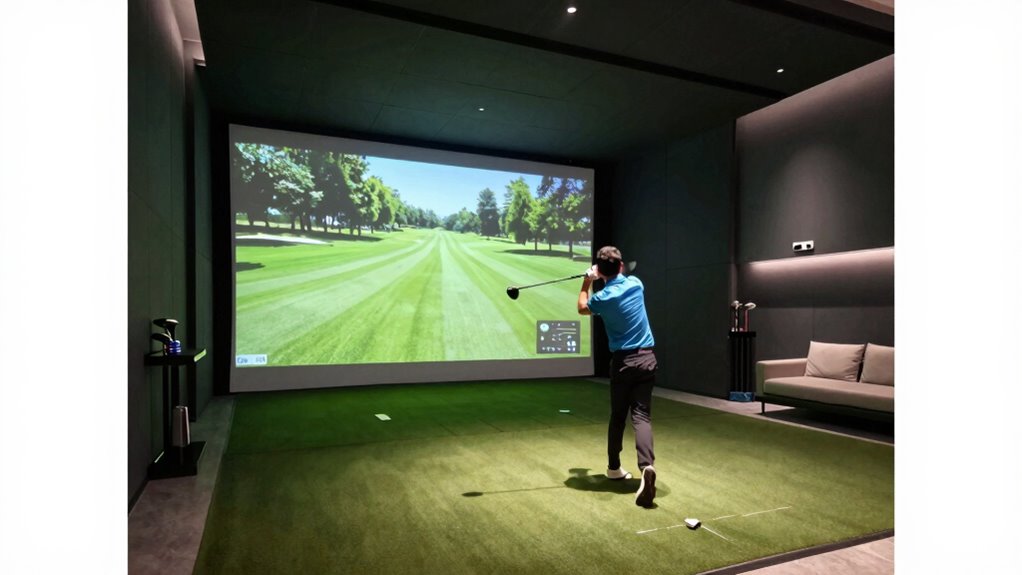
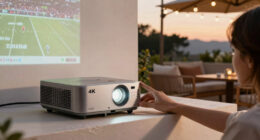
You might find yourself hitting the same frustrating moments on the course, wishing you could practice more consistently. Building a home golf simulator became a game-changer for you, offering the convenience to work on your game anytime. Instead of waiting for weekends or paying for lessons, you can focus on detailed swing analysis right at home. It’s not just about hitting balls; it’s about understanding what’s happening with each swing and making real improvements. With a golf simulator, you get instant feedback, track progress, and refine your technique without the distractions of a busy golf course. Proper projector calibration can further enhance your visual experience and help you analyze your shots more effectively. This setup helps you stay motivated and guarantees practice becomes a regular part of your routine, ultimately boosting your confidence and performance on the course.

Complete Golf Simulator Enclosure Package – 4K-Ready Impact Screen with Blackout Cage, Projector Mount, Frame Poles, Side Shank Nets | Indoor & Garage Practice | Easy Setup | 12-Month Warranty
COMPLETE GOLF SIMULATOR ENCLOSURE — TRAIN WITH CONFIDENCE – Designed for serious golfers who want a professional-grade practice…
As an affiliate, we earn on qualifying purchases.
As an affiliate, we earn on qualifying purchases.
How to Choose the Best Equipment for Your Golf Simulator
Choosing the right equipment is key to creating an effective golf simulator. You’ll want to take into account essential components like the launch monitor, screen, and sensors, while also exploring budget-friendly options that still deliver quality. Knowing what to prioritize helps you build a setup that fits your goals and budget. Additionally, understanding astrophotography techniques can inspire innovative ways to optimize lighting and environmental conditions in your setup. Incorporating digital content formats can also enhance your experience by providing immersive tutorials and virtual courses tailored to your preferences.
Essential Simulator Components
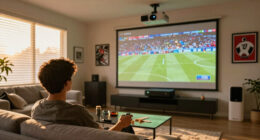
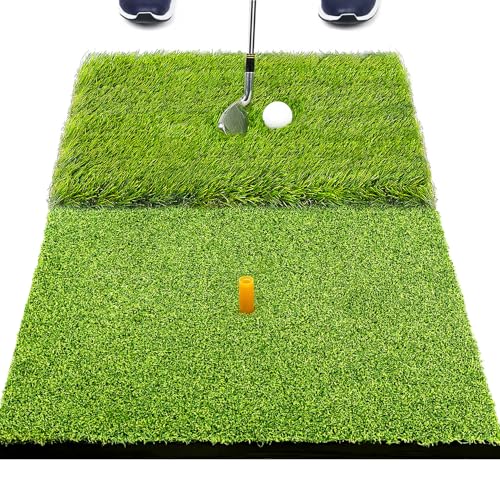
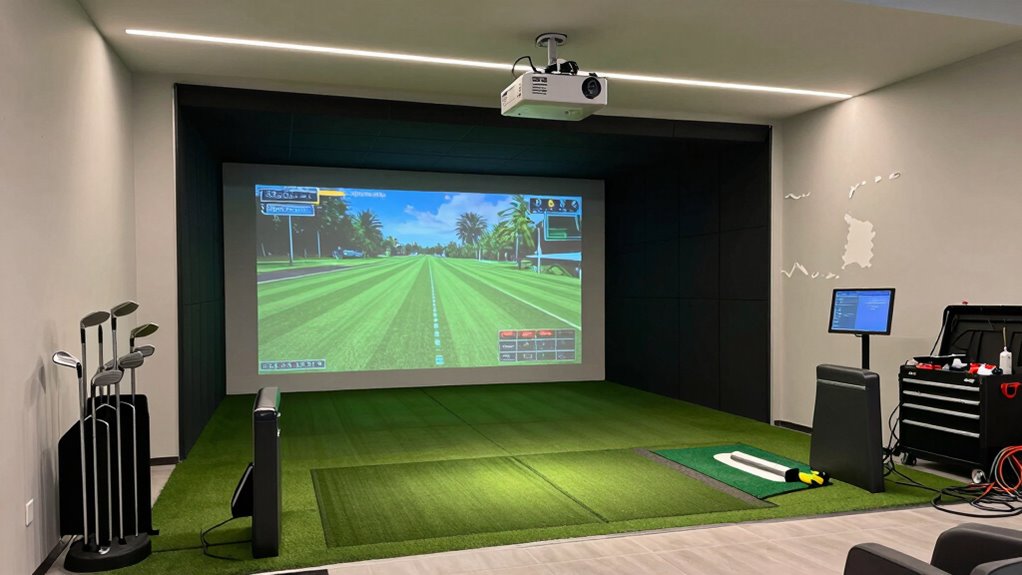
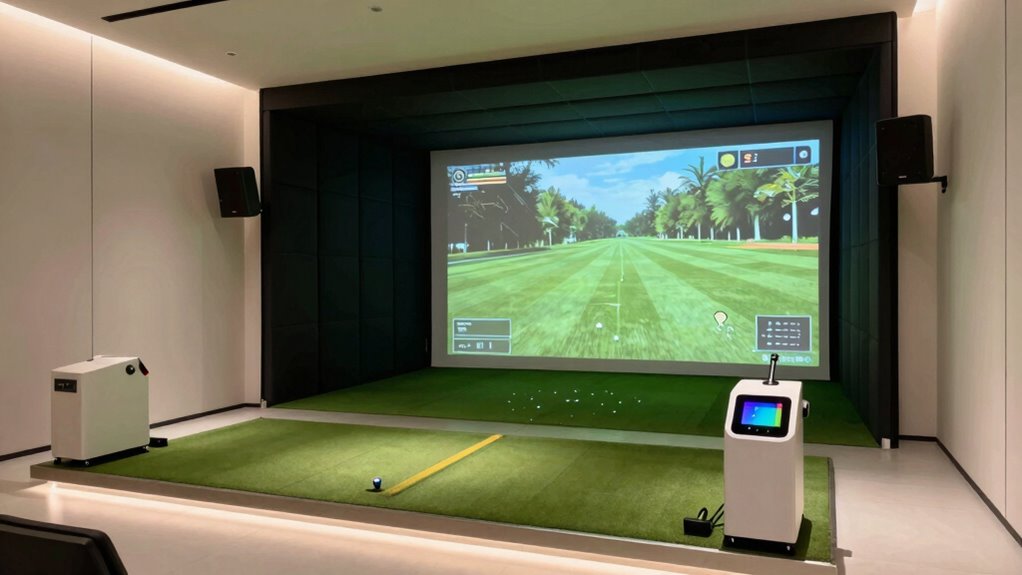
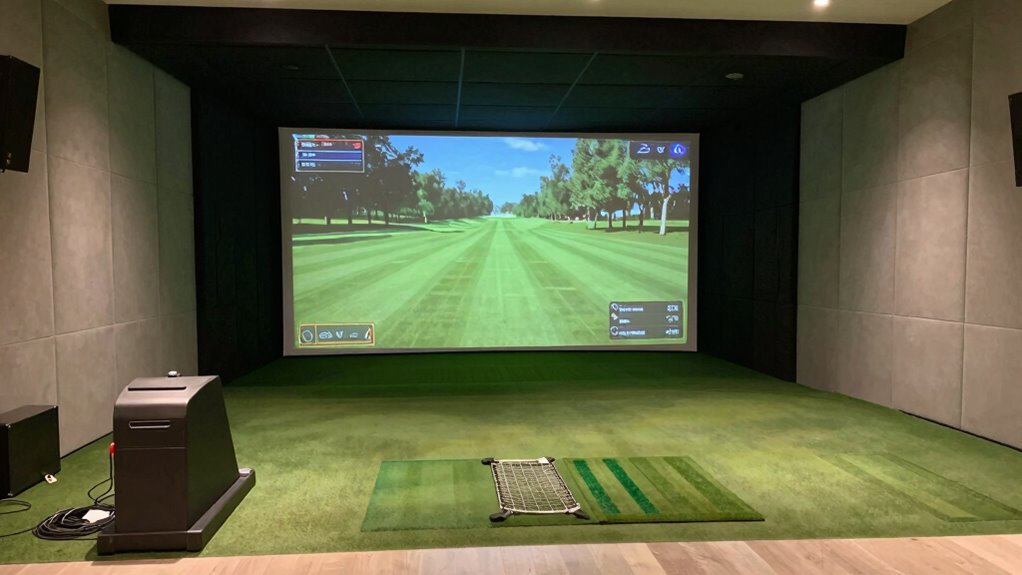
Selecting the right components is essential to creating an effective golf simulator room that meets your needs and budget. Your setup should include a high-quality launch monitor, which accurately tracks your golf swing and ball data, helping improve your game. A reliable hitting surface, like a durable turf mat, ensures consistent ball contact during practice. The projector or display must deliver clear, bright images for an immersive experience. For club fitting, choose adjustable systems that accommodate different club lengths and lie angles, optimizing your swing mechanics. Good lighting and soundproofing also enhance focus and comfort. Prioritize equipment that’s compatible and easy to use, so you can focus on your game and make meaningful improvements.
Budget-Friendly Equipment Options
Building a golf simulator on a budget doesn’t mean sacrificing quality or functionality. You can find affordable equipment that still provides accurate swing analysis and realistic ball flight. Look for used or refurbished sensors and projectors, which often cost less but perform well. When selecting a golf ball, opt for ones designed for simulation use—they’re typically more affordable and durable, ensuring consistent feedback during practice. Many budget-friendly launch monitors include swing analysis features like club speed and launch angle, giving you valuable insights without breaking the bank. Focus on essential components first, and upgrade gradually. With careful research, you can set up a functional simulator that tracks your swing and enhances your game without overspending. Additionally, incorporating eco-friendly natural pools and landscaping elements can create an inspiring environment for practice and relaxation.
SAPLIZE 23" x 16" Foldable Golf Hitting Mat, 2-in-1 Golf Turf Grass Mat, Rough and Fairway for Hitting, Chipping and Putting Golf Practice and Training Mat for Indoor/Outdoor
【LARGE SIZE FOR PRACTICE】Each turf is nearly 40% LARGER than a 3-in-1 collapsible mat, providing you a confident…
As an affiliate, we earn on qualifying purchases.
As an affiliate, we earn on qualifying purchases.
Designing Your Room Layout and Lighting for Optimal Practice
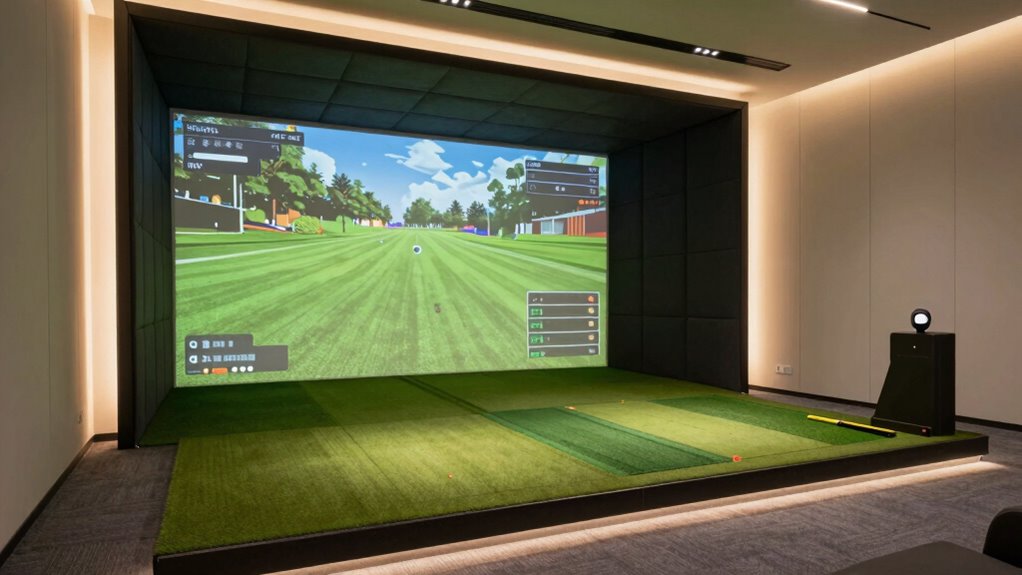
Creating an effective layout and lighting plan is essential for making the most of your golf simulator room. Proper lighting design guarantees visibility without glare, helping you track ball flight and club alignment. Use adjustable, diffused lighting to reduce shadows and prevent strain on your eyes. Think about room acoustics too—soundproofing and strategic speaker placement can minimize echoes and enhance feedback, creating a more immersive experience. Position your hitting area to maximize space and comfort, ensuring there’s enough room for a natural swing. Keep the screen at an ideal distance and height for easy viewing. A well-thought-out layout combined with balanced lighting and acoustics creates an inviting environment that promotes focus, consistency, and improvement during practice sessions. Additionally, understanding room acoustics can significantly improve your overall experience by reducing distractions and enhancing sound clarity.
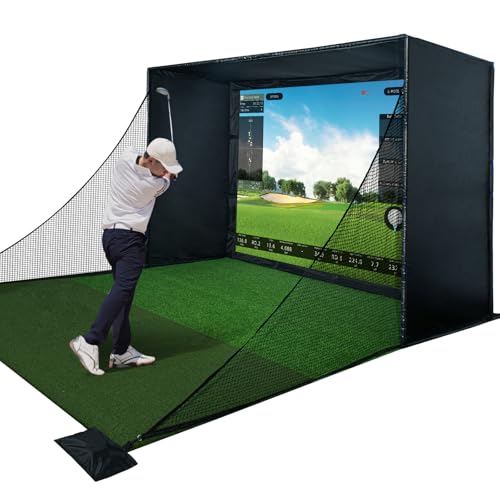
Golf Simulator Enclosure Kit with Premium HD Impact Screen, Full Safety Padding & Blackout Curtain, Home Golf Sim Setup Compatible with Launch Monitors, Indoor Cage Net Golfing Accessories (10 x 8 ft)
Complete Golf Simulator Enclosure Kit – This kit includes everything you need for a true home golf simulator…
As an affiliate, we earn on qualifying purchases.
As an affiliate, we earn on qualifying purchases.
Troubleshooting Setup and Installation Challenges
When setting up your golf simulator, calibration and alignment issues can throw off your practice sessions, so double-check your sensors and screens. Space and safety concerns often emerge unexpectedly, making it essential to plan for enough room and secure equipment properly. Additionally, compatibility challenges with your hardware and software can cause frustrating delays, so verify all components work seamlessly together before final installation. Ensuring proper setup procedures are followed can help prevent many common troubleshooting issues, especially when considering natural light and other environmental factors that may affect sensor performance. To further improve setup accuracy, consider using airless paint spraying tips for precise application of any protective coatings or finishes on your equipment.
Calibration and Alignment Issues
Have you ever struggled with getting your golf simulator properly calibrated and aligned? If so, you know that sensor placement is vital for accurate data. Guarantee sensors are positioned at the right height and angles, avoiding obstructions that could interfere with readings. Once sensors are in place, focus on software calibration, which fine-tunes the system’s measurements. Follow the manufacturer’s instructions carefully, running calibration routines and checking for consistent results. Misaligned sensors or incorrect calibration can cause inaccuracies in ball tracking and swing analysis. Take your time to verify each sensor’s position and run multiple calibration tests if needed. Proper calibration and alignment are essential for an authentic, reliable golf simulation experience, so don’t rush this step.
Space and Safety Concerns
Ensuring your golf simulator fits safely and comfortably in your space requires careful planning and awareness of potential hazards. Space optimization is essential to avoid cramped areas that could lead to accidents or damage. Measure your room’s dimensions precisely, leaving enough clearance for swings and movement. Safety precautions include securing loose fixtures, removing fragile objects, and ensuring proper lighting. Check for any obstacles that could interfere with your swing or cause tripping hazards. Make sure the ceiling height is sufficient to avoid injuries, especially during full swings. Ventilation and electrical safety are also important; avoid overloading circuits. Additionally, considering airflow can help prevent any unexpected issues, especially in enclosed spaces. Proper space planning is critical to create an effective and safe environment. By thoughtfully planning your layout and following safety precautions, you create a secure environment that maximizes your enjoyment and minimizes risks.
Equipment Compatibility Challenges
Managing equipment compatibility can be a complex part of setting up your golf simulator, especially since different components often have specific requirements. You might encounter issues with compatibility between sensors, launch monitors, and display screens. Confirming that your hardware works seamlessly together is vital for a smooth experience. Wireless integration can help reduce cable clutter, but it also introduces potential connection issues. Make sure your devices support the same wireless protocols or have compatible interfaces. Sometimes, firmware updates or adapters are needed to bridge compatibility gaps. Testing each component individually before full setup helps identify conflicts early. Staying informed about the specifications and requirements of each piece ensures you can troubleshoot effectively and avoid costly mistakes during installation.
How to Calibrate and Test Your Golf Simulator for Accuracy
Calibrating your golf simulator is essential to guarantee the readings are accurate and your practice sessions are effective. Begin by inspecting your custom turf, ensuring it’s level and securely installed, as uneven surfaces can affect ball roll and data accuracy. Next, focus on sensor calibration—this step aligns the sensors with your system’s specifications. Follow the manufacturer’s instructions to calibrate each sensor, such as the launch monitor and cameras, to ensure precise data collection. Proper calibration is crucial for accurate data, which directly impacts your training outcomes. After calibration, test your setup by hitting a few shots and comparing the results with known distances or using a physical measuring tape. Adjust settings as needed until the readings match real-world measurements. Incorporating reliable smart home devices can also help monitor and optimize your setup. This process guarantees your simulator provides reliable feedback, making your practice sessions more productive.
Common Mistakes to Avoid When Building Your Simulator Room
Building a golf simulator room can be exciting, but it’s easy to make mistakes that compromise your setup’s accuracy and safety. One common error is neglecting proper ventilation solutions, which can lead to stuffiness and damage over time. Additionally, overlooking decorating tips can result in a cluttered, uninviting space. Be sure to measure your room carefully to avoid space issues. Poor lighting can also hinder your game, so plan for appropriate illumination. Here’s a quick guide to avoid key mistakes:
| Mistake | Solution | Tip |
|---|---|---|
| Insufficient ventilation | Install fans or air vents | Keep air flowing smoothly |
| Poor space planning | Measure before building | Leave room for swings |
| Overlooking decor tips | Choose calming, functional decor | Create an inviting environment |
| Ignoring lighting | Use layered lighting | Avoid glare on screens |
To enhance comfort, consider integrating water-cooled mattress pads or dehumidifiers to maintain a comfortable climate during long practice sessions. Proper room environment control is essential for maintaining equipment longevity and user comfort. For example, managing indoor air quality by reducing dust and microplastics can contribute significantly to a healthier environment. Additionally, understanding the importance of ventilation can help prevent moisture buildup and ensure safety. Ensuring adequate air circulation can also improve overall indoor air quality, making your game experience more enjoyable.
Upgrading Your Practice Space With Accessories and Tech
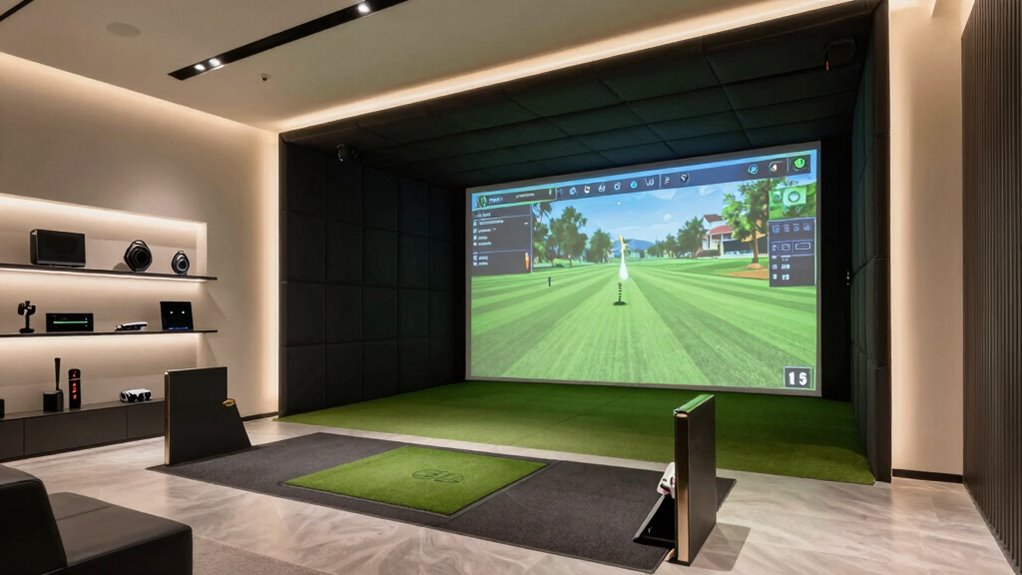
Enhancing your practice space with accessories and technology can considerably boost your training effectiveness and overall enjoyment. By adding tools like launch monitors, you gain real-time data on your golf swing, helping you analyze and improve your ball trajectory. High-quality mats and hitting nets create a realistic environment, making practice more consistent and comfortable. Consider installing adjustable lighting or screens to simulate different conditions and improve focus. Accessories like alignment sticks or swing analyzers provide immediate feedback, sharpening your technique. Tech upgrades, such as augmented reality or virtual coaching apps, make practicing more interactive and engaging. These enhancements not only refine your skills but also keep you motivated, turning your simulator into a thorough training zone tailored to your needs. Incorporating sauna safety tips ensures your space remains safe and comfortable during extended practice sessions.
Lessons Learned and Next Steps for Your Golf Simulation Journey
As you reflect on your golf simulation journey, it’s clear that progress often comes from trial, error, and continuous learning. Recognizing what works and adjusting your setup can dramatically improve your practice. For example, fine-tuning your indoor lighting guarantees your sensor accuracy and ball tracking stay reliable. Watching your golf swing during simulated sessions helps identify areas for improvement and track progress. Additionally, ensuring your equipment and accessories are well-maintained can prevent warp issues and extend their lifespan. Regularly inspecting your cabling and connections is also crucial to avoid cable failures that can disrupt your practice sessions. Staying informed about home design/architecture details can inspire innovative ideas for enhancing your setup or sharing your progress with others. Incorporating wellness tech like proper lighting and ergonomic adjustments can also enhance comfort and focus during long practice sessions.
Next steps include focusing on consistency and comfort, upgrading your mat or net, and experimenting with different lighting angles for ideal results. Remember to stay patient and keep learning from each session. Your dedication will lead to better shots and a more enjoyable golf experience.
Frequently Asked Questions
What Are the Initial Costs Involved in Building a Golf Simulator Room?
The initial costs for building a golf simulator room depend on your choices, but you’ll need to budget for the projector, screen, and impact mat. Interior lighting is essential for proper visibility, so factor in lighting fixtures. Budget planning helps you prioritize features, like soundproofing or seating, which can add to costs. Expect to spend a few thousand dollars to create a functional, enjoyable space tailored to your needs.
How Much Space Is Needed for a Functional Golf Simulator Setup?
You’ll need at least 10 by 12 feet of space for a functional golf simulator setup. This allows room for a golf mat, ensuring a comfortable swing, and proper projector placement for clear visuals. Keep in mind, additional space improves comfort and accuracy. Make sure the ceiling is high enough to accommodate your swing and the projector’s throw distance, avoiding shadows or obstructions during play.
Can a DIY Golf Simulator Match the Performance of Commercial Models?
A DIY golf simulator can match commercial models if you focus on proper simulator calibration and maintaining golf ball accuracy. You need quality sensors, accurate data input, and regular calibration to guarantee consistent performance. While DIY setups might lack some advanced features, with careful adjustments, you can achieve precise shot analysis and realistic feedback, making your practice sessions effective and enjoyable. Proper setup is key to getting the most out of your DIY simulator.
What Maintenance Is Required to Keep the Simulator Running Smoothly?
A stitch in time saves nine—so, regular maintenance keeps your golf simulator in top shape. You should check and update your lighting setup periodically to guarantee peak visibility and prevent glare. Ventilation concerns are also vital; clean air filters and secure proper airflow to avoid humidity build-up that could damage equipment. Keep the sensors and projectors clean and calibrated, and inspect the netting and flooring for wear and tear.
How Does Room Acoustics Affect the Golf Simulation Experience?
Your room acoustics considerably impact your golf simulation experience. Soundproofing techniques help reduce external noise, ensuring you stay focused, while proper acoustic treatment minimizes echoes and sound distortions inside. Using foam panels, bass traps, and diffusers can enhance sound clarity, making your practice feel more realistic. When you optimize your room’s acoustics, you get a more immersive and precise simulation, helping improve your game and enjoyment.
Conclusion
Building your golf simulator is like crafting your own secret garden—carefully tended, it becomes a sanctuary of progress and passion. With each swing and tweak, you’re shaping a space that reflects your dedication, turning a simple room into a launchpad for greatness. Keep experimenting, learning, and upgrading—your perfect practice paradise awaits, ready to transform your game from ordinary to extraordinary. Embrace the journey, and watch your skills blossom like a well-tended tree in full bloom.